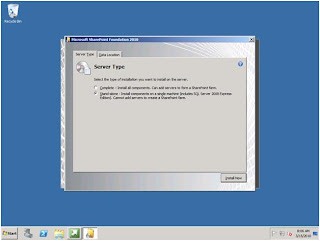
You will need to download Office Web Apps from the Microsoft Download Site. This download is available to Volume licensing customers or those with TechNet and MSDN subscriptions. Let’s begin by launching the setup.exe and entering our product key;
Accept the licensing terms.
Click Continue
Choose a file location for installation. Ensure you select a drive with adequate free space for your Data partition which stores the Office Web Apps search index files.
Click Install Now
Upon successful installation, you will be greeted with the “Run Configuration Wizard” window. We will immediately run the configuration wizard by leaving the checkbox ticked and clicking close. You can also achieve the same by running PSConfig. Both methods will register the Office Web Apps services.
Click Close to Run the SharePoint Configuration Wizard.
Click Next and click Yes to acknowledging the restart of the IIS, SharePoint Administration and Timer Services.
Click Next
Click Finish to acknowledge the successful configuration.
You will then receive the below Central Administration screen regarding configuring your SharePoint farm. Because we have been configuring each service application one by one as needed (best practice) we will click cancel and proceed to activate the Office Web Apps services individually.
Provisioning the Office Web Apps Service Applications
Let’s begin by starting the relevant Office Web Apps services located under Central Administration / System Settings / Manage services on server.
Scroll down until you locate all of the Office Web Apps specific services, namely Excel Calculation Services, PowerPoint Service and Word Viewing Service. Click Start for each respective service.
Let’s now navigate to Central Administration / Application Management / Manage service applications.
Click on New / Word View Service
Enter the following details to complete the creation of the Word Viewing Service Application. Ensure that you select “SharePoint Web Services System” from the Use existing application pool option.
Click OK
Your service application will then proceed with the creation process and will be listed with our previously provisioned service applications.
You can now further provision the “Excel Services Application” and “PowerPoint Service Application” in the same manner following the above steps. Please note that there isn’t a separate service application for OneNote.
Activating Office Web Apps
Depending on where you want the feature activated, you will venture to your Site Collection(s) and activate each one individually or you can utilise PowerShell to activate multiple site collections at once within a single script.
From within your SharePoint Site, click on Site Actions / Site Settings.
Under Site Collection Administration, click on Site Collection Features.
Navigate down the page until you find Office Web Apps and click on Activate.
You should now be able to open a Microsoft Word document from a document library on your SharePoint site and it should launch within the browser by default.


![clip_image002[4] clip_image002[4]](http://www.iotap.com/Portals/2/Blog/Files/6/165/WLW-Accessisdenied.CheckthattheD.EventId2436_EDFC-clip_image0024_thumb.jpg)


